Parts: Blue Fog Light Bulbs (9145)
Tools: 10mm Socket, #2 Phillips, Pry Tool for Plastic Rivets
Time: 45 Minutes
Cost: $10-$50 depending on your source
I've mentioned before that two of my pesonal staples are blacking out chrome and adding custom lighting. The Mopar 10 has already been treated to Custom Blue Interior Lighting and it only makes sense to carry that theme to the exterior (I'll tackle the headlights when I find something I like). Since the Fog Lights (9145) aren't your primary driving light they can be a little bit on the questionable side. If you have issues running them in your area, just use them for show and events etc. I honestly don't know many people that use fog lights, although they do a nice job illuminating things in foggy conditions.
In all honesy I have always used the fog lights and park lights on older Mopars as an early evening light. Basically the times you don't have to have a light on, but it will show up (unlike the ridiculous DRL that have been on chevys for years).
With that said, I could get a bit wild with the fogs...and that is what I did. I didn't opt for the "super bright," "white," or "blue-white mix." None of that would do...
The Mopar 10 deserves the best and I went with a true BLUE fog light! This is a perfect match for the interior, actually provides pretty good lighting (considering you will run head lights at night), and looks awesome!
For the install I will just be honest...I can't exactly remember what tools you need...I did this back in April and have slept since then. That said here is the basic procedure:
1. Remove the underbelly splash shield as if you were going to change the oil.
2. Remove the frontal splash shields to allow easy access to the bulbs.
3. Remove the factory bulb by turning the housing 90 degrees.
4. Release the tabs and wiggle the bulb out.
5. Install your new bulb by sliding it onto the factory socket.
6. Install the new bulb+harness into the housing by putting it in perpendicular to the ground and then twisting back to the factory installed position of 90 degrees to the side. *Repeat for the other side!
7. Test the bulbs!
8. Reinstall the frontal splash shield.
9. Reinstall the underbelly splash shield.
10. Enjoy!
Simple enough right? I can't stress that you test the bulbs! The last thing you want is to install your new bulbs, reassemble everything, and go cruising that night only to find one of them was a dud.
Also, I have heard people say they can snake their hand/arm down through the front of the radiator and grab the bubls. I can not. By the time I did this, broke the factory bulb, cleaned the mess up, dropped the aftermarket bulb, pulled the underbelly to get it back, and then doctored my cut-up arm I could have done it as listed above 2-3 times. If you have small hands, a thin arm, or children at your disposal go ahead and try it. I honestly think it is best to just go ahead and remove the front plastic.
Now, the money shots...I think I have a few pics of the removal, but it isn't near as glamourous.
So, here are some reference pics:
 |
| Factory Housing |
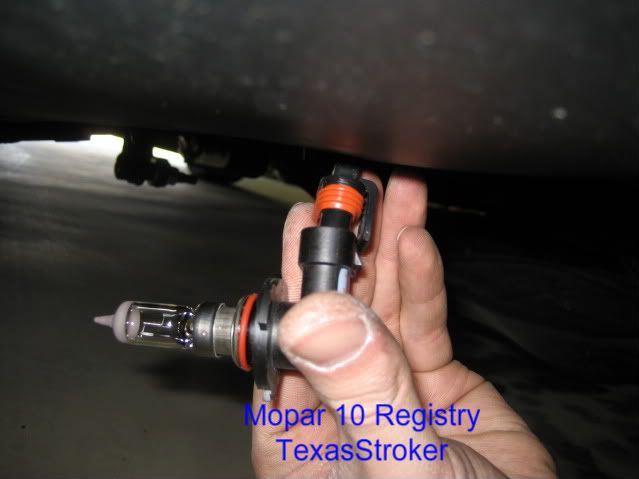 |
| Removing the Factory Bulb |
 |
| Factory Park Lights |
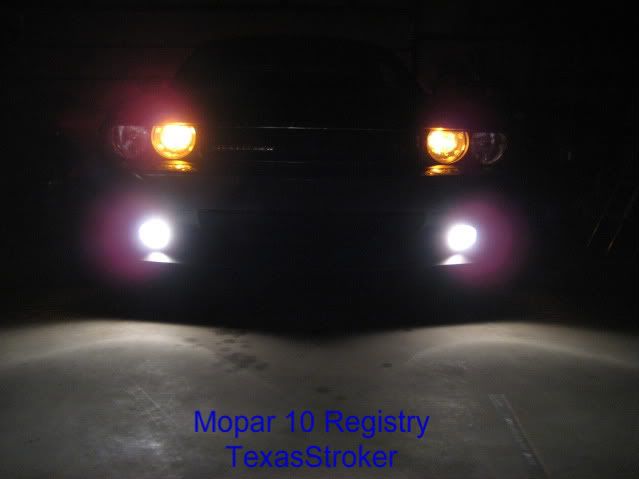 |
| Factory Park and Fog Lights |
 |
| Factory Illumination-Side Shot |
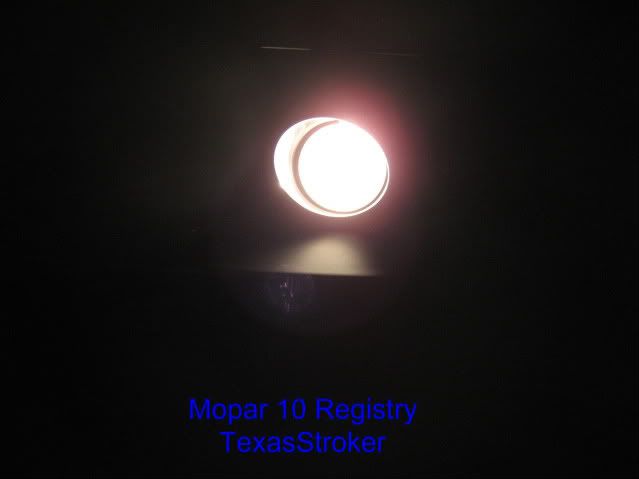 |
| Factory Fog Light Close-up |
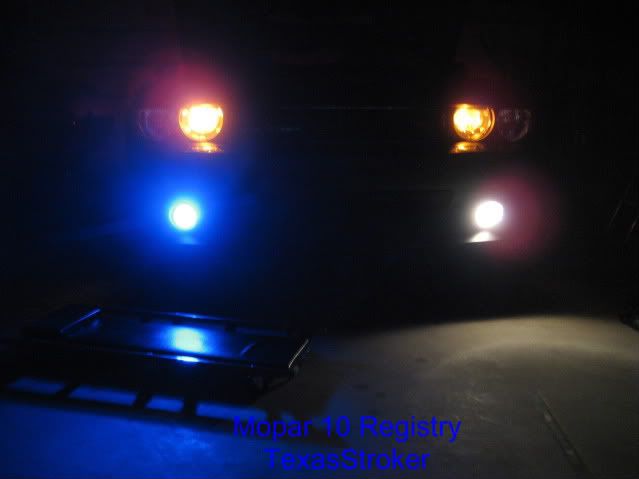 |
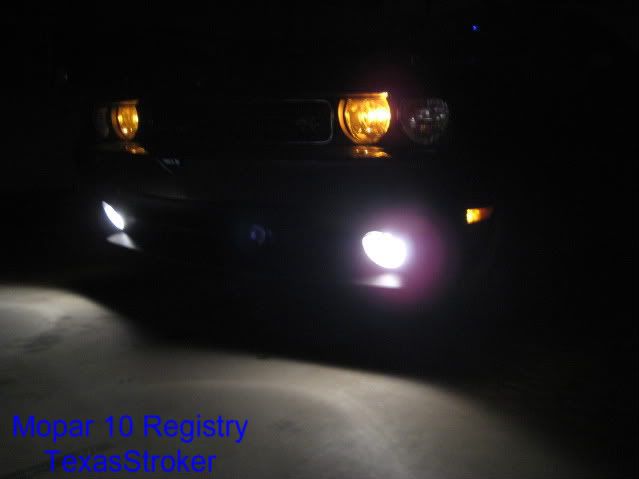
| Left Blue Fog Light, Right Factory Fog Light |
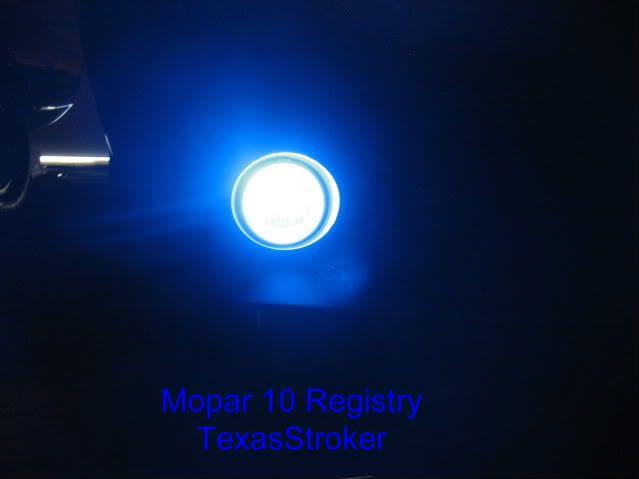 |
| Blue Fog Light, Close-up |
 |
| Mixed Illumination |
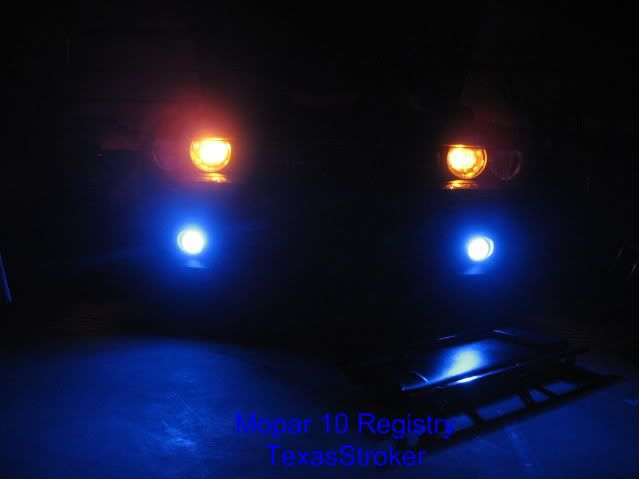 |
| Blue Fog Lights |
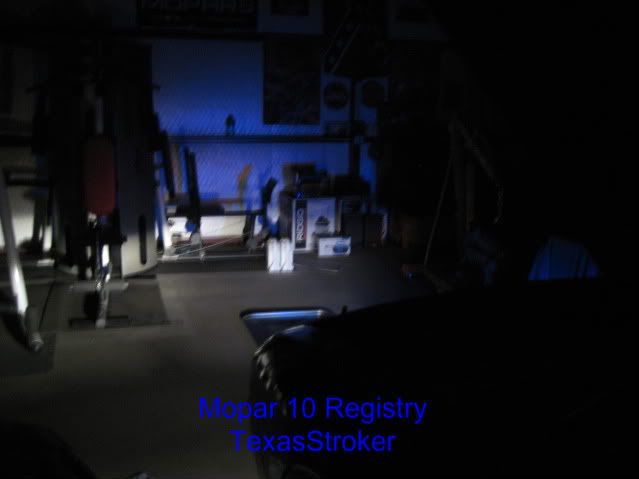
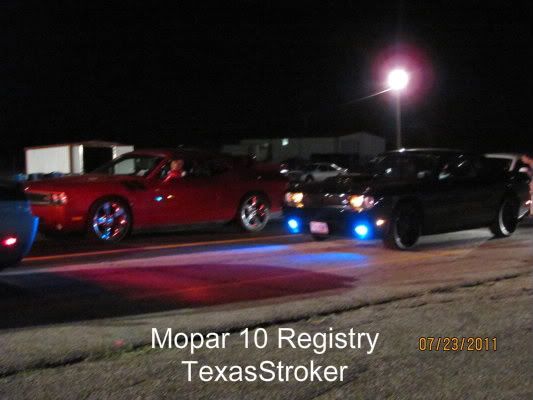 |
| Staging Lanes at MAAD 2.0 |
So, I have to say that modification was well worth the time! The Blue Fog Lights look great and in all honesty do a nice job illuminating contrast better than a standard halogen. They won't project as far and shouldn't be used to replace your fog lights if you rely on them, but for an auxillary light they are great!
The last shot was taken by hotrod340 of Amarillo Area Mopars at MAAD 2.0 this summer at Amarillo Dragway. The blue fog lights looked great going down the track and in the staging lanes alike.
For the modest cost and minimal time involved this was a no-brainer in terms of upgrading the Mopar 10!
No comments:
Post a Comment