Custom Blue LED Trunk Light
Tools: None, possibly a nylon coated pry tool, flat blade screwdriver, or needle-nose pliers.
Time: Rouhgly 5 minutes (and that was mostly spent taking pictures for this, lol).
Cost: $5-$20 depending on if you get a good deal, or buy from a rip-off artist.
Difficulty: Cakewalk
I don’t know that I would consider this a mod as much as I would a simple custom accent…or in my case a staple. Every vehicle I get seems to wind up getting blacked out up front (if it isn’t already) and then gets treated to custom accent lighting in the cabin. Each vehicle is different, but for the Mopar 10, the obvious choice was blue!
In this case the stock lights of the Challenger just weren’t cutting it…plain and boring; the change was imminent.
For the trunk light you will need no special tools. The housing can easily pull out if you can get a grip on it…if not, a slim nylon or plastic coated trim tool will do the job. LEDs of this sort are available in pretty much any color you could desire, just look around online. I chose to do the trunk light first because it was one bulb vs the two-bulbs for the map lights.
This was the first self-installed mod (hood struts were installed free by the dealership). I ordered the lights on February 4th, 2011 and had them installed on February 7th, 2011...not that you care, it is just for my own record, lol.
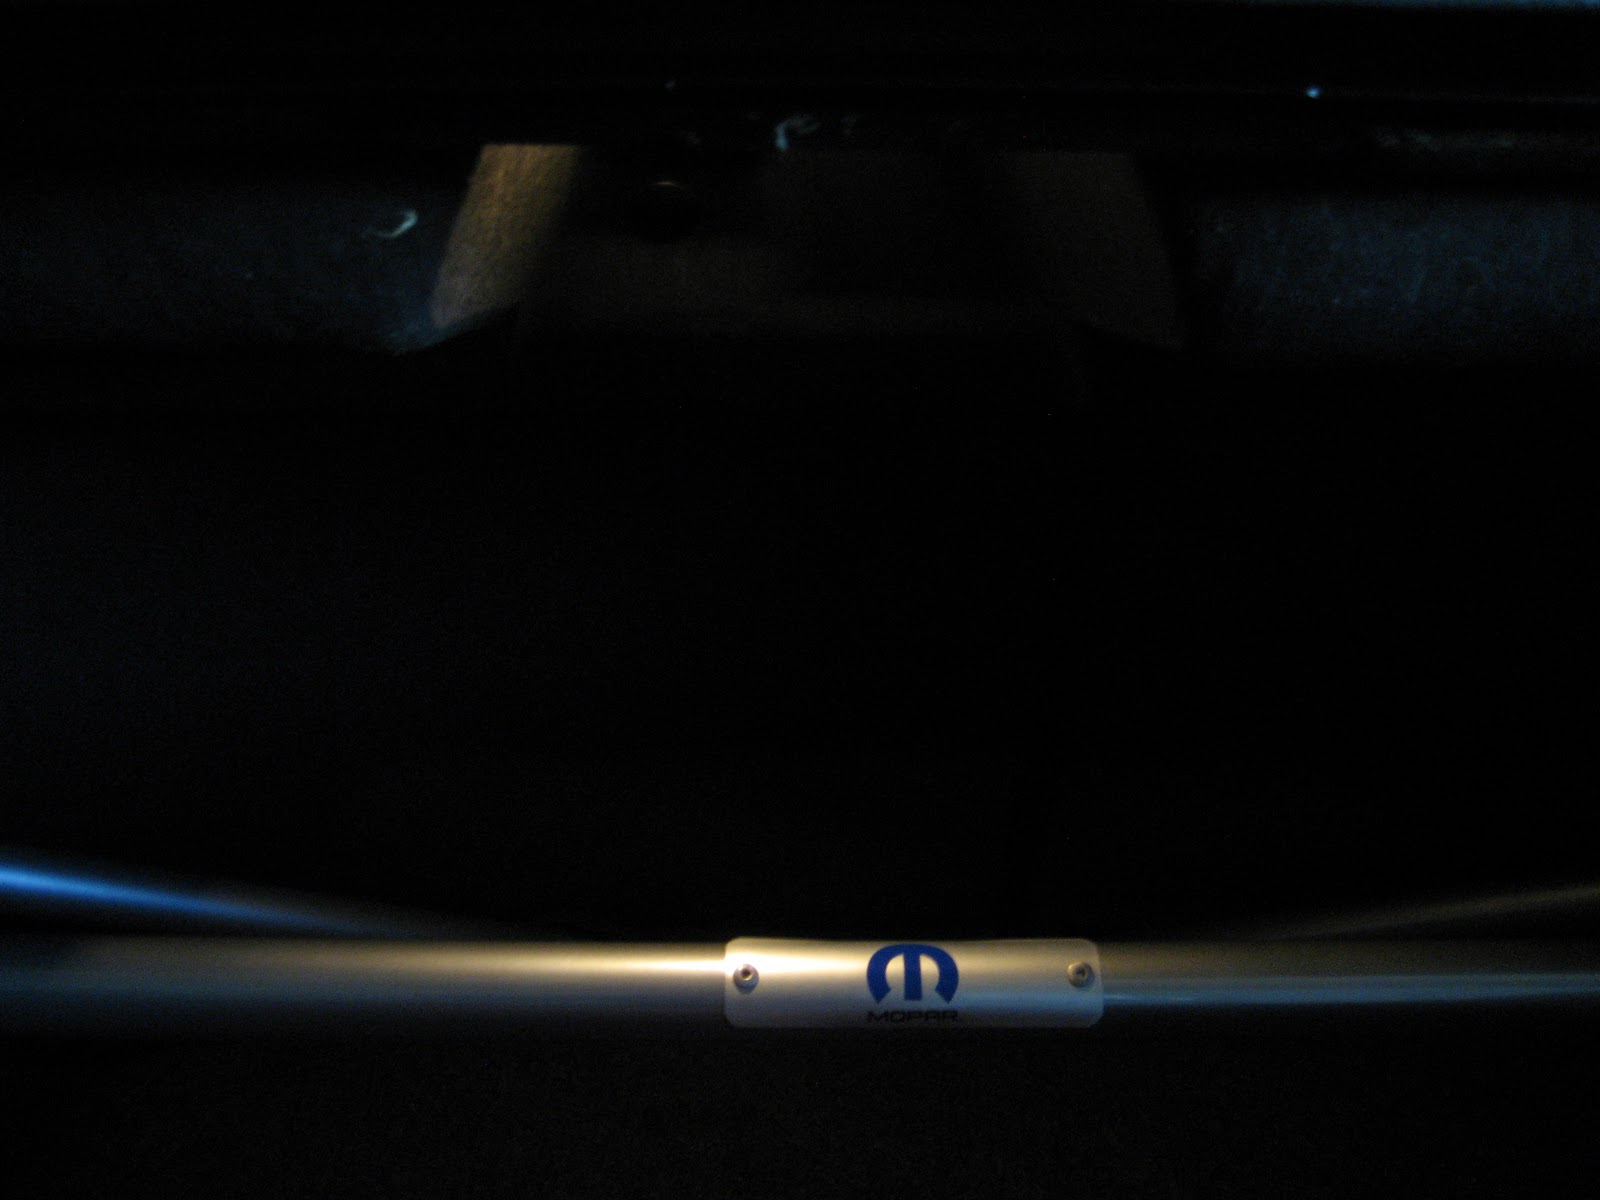
Here is the stock illumination, not too bright and not very exciting:

Get the housing started and pull it free, you’ve got about 6” of slack:

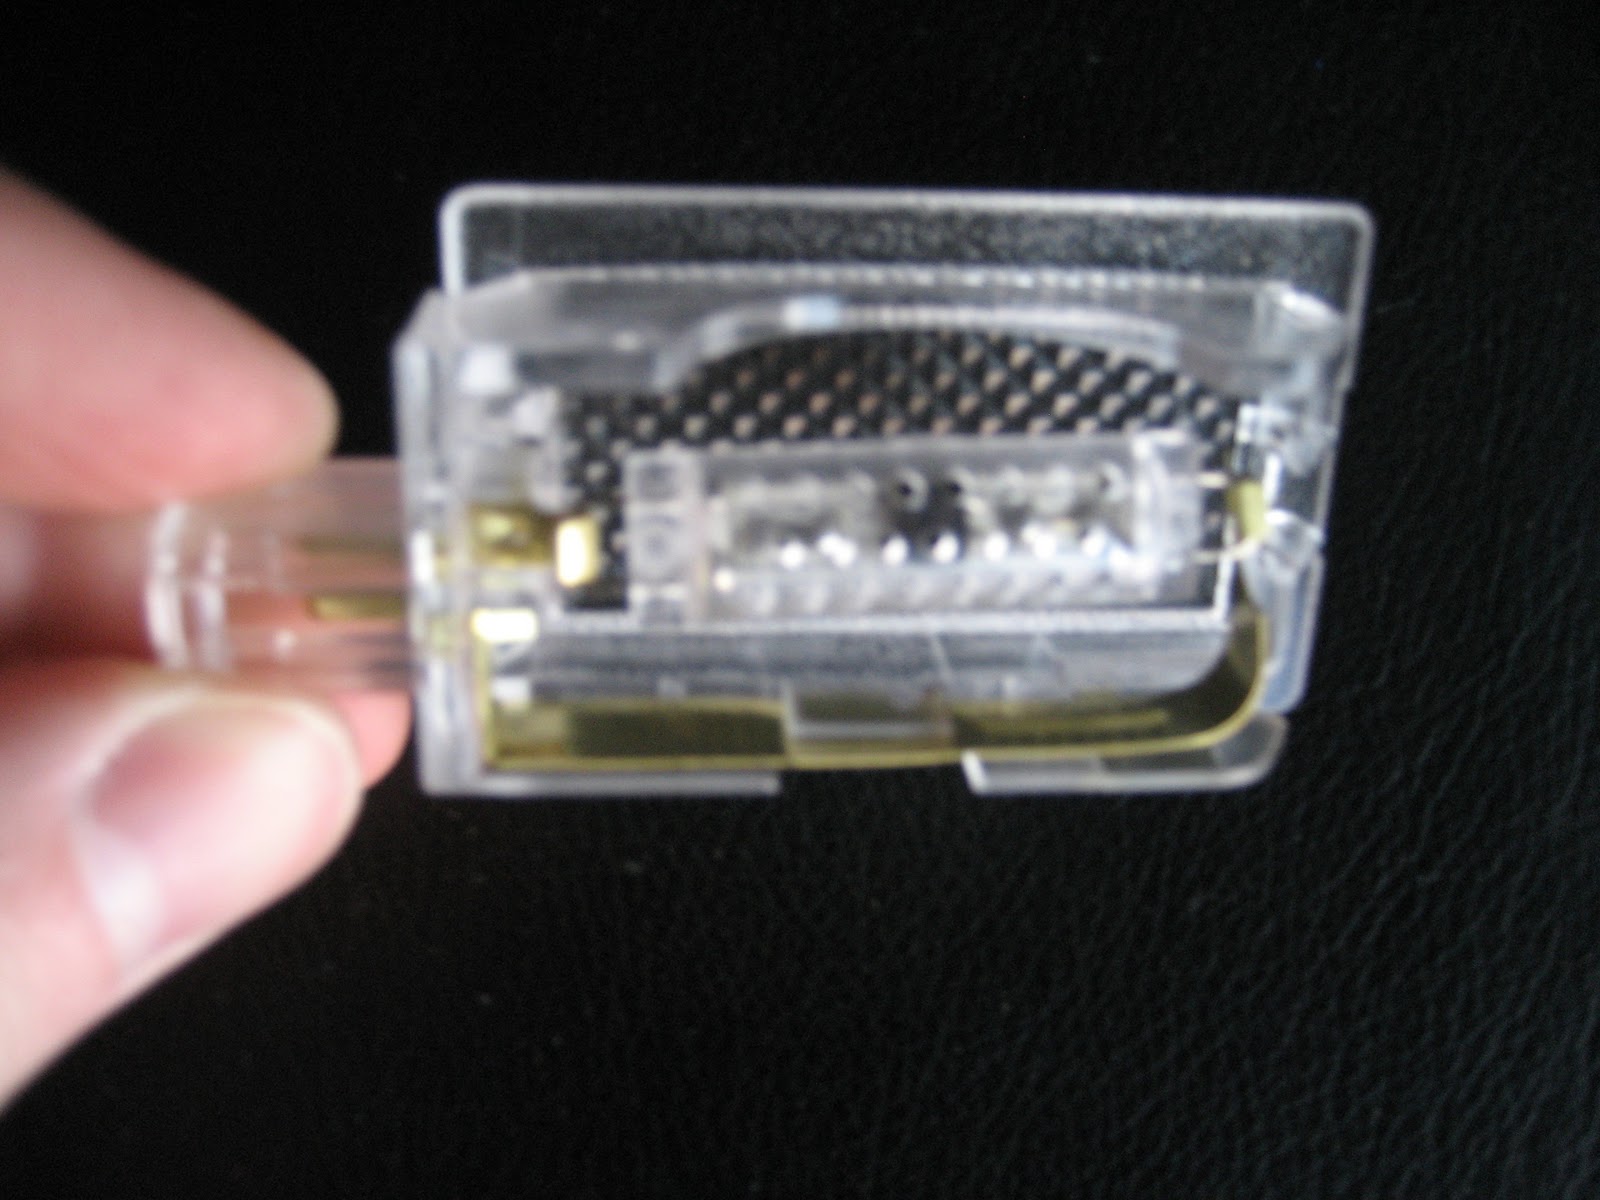
I always see where guys complain of the light being too hot to change so they wedge a screwdriver in the latch. Do not do that. This isn’t rocket science it is a light-bulb. The factory designed the assembly to be easily serviced, and that is accomplished by simply unplugging it:

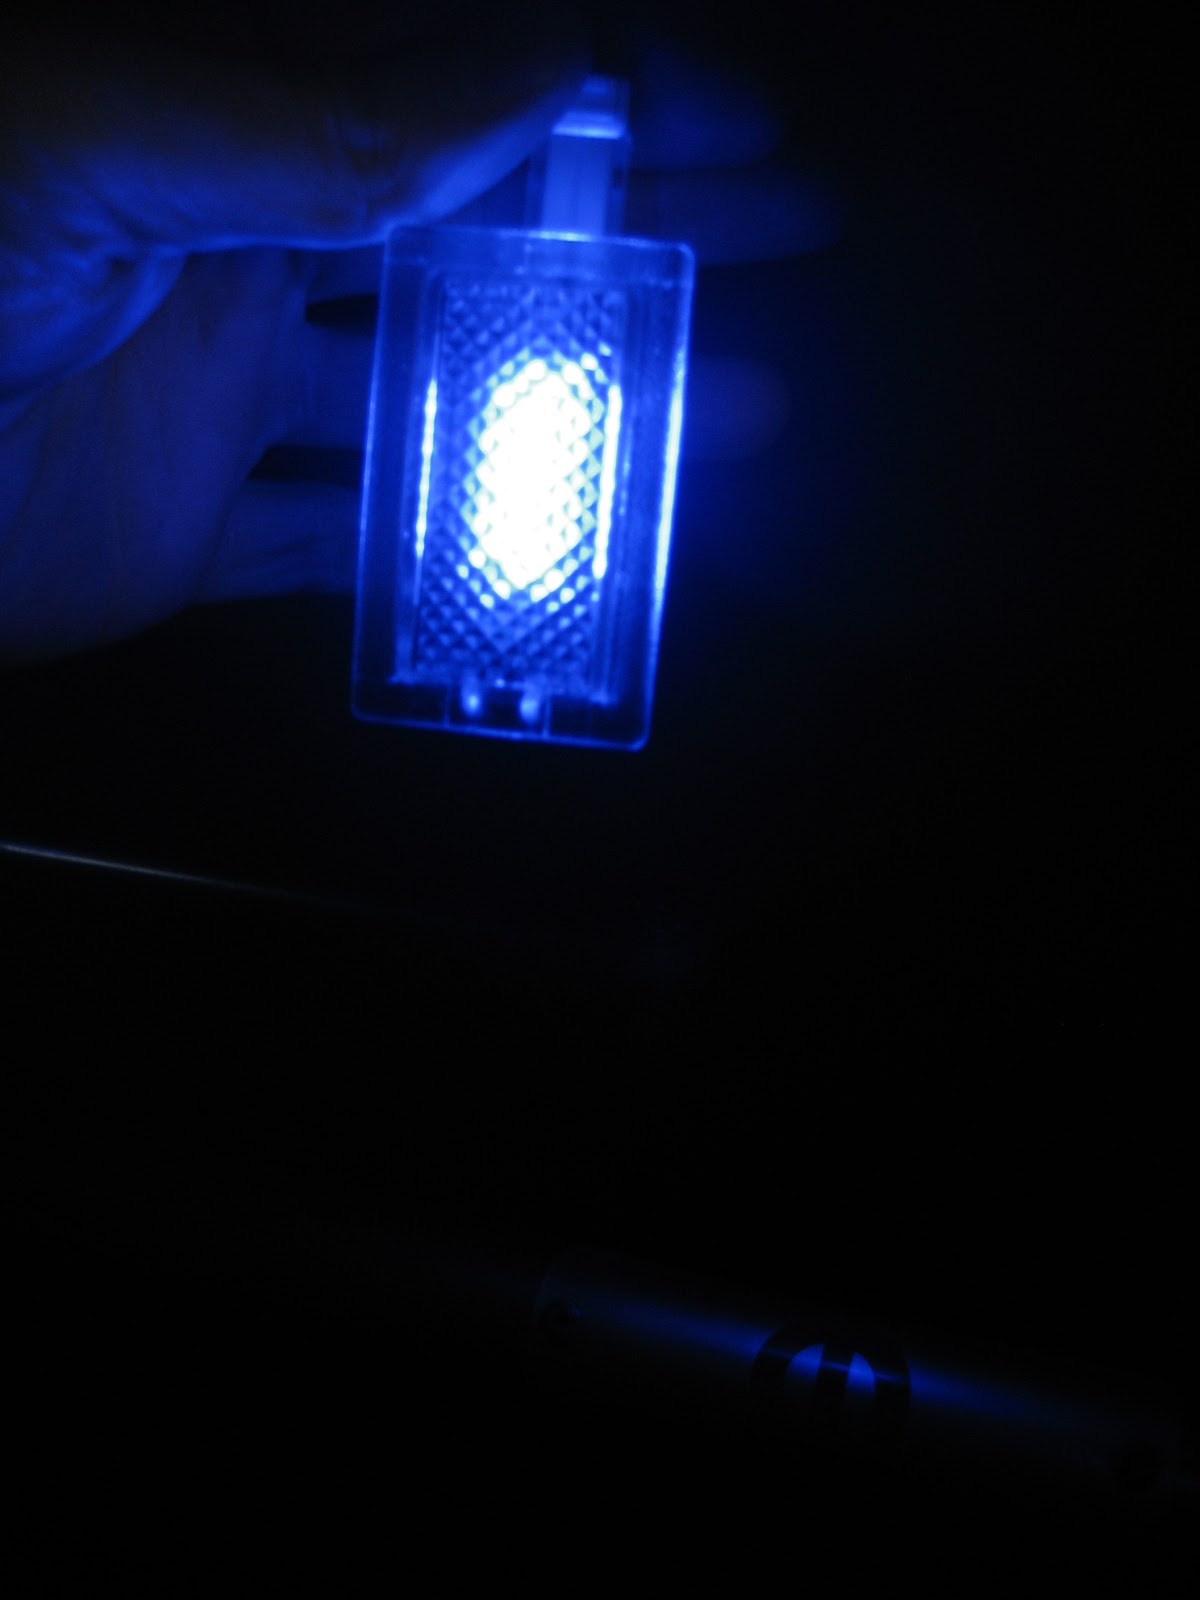
Now you will just need your selected bulb, whether you are replacing a burned out OE bulb or putting in a custom LED. In my case we are doing the later and going with the superbrightleds 9-chip Blue RL4410-BHP9:
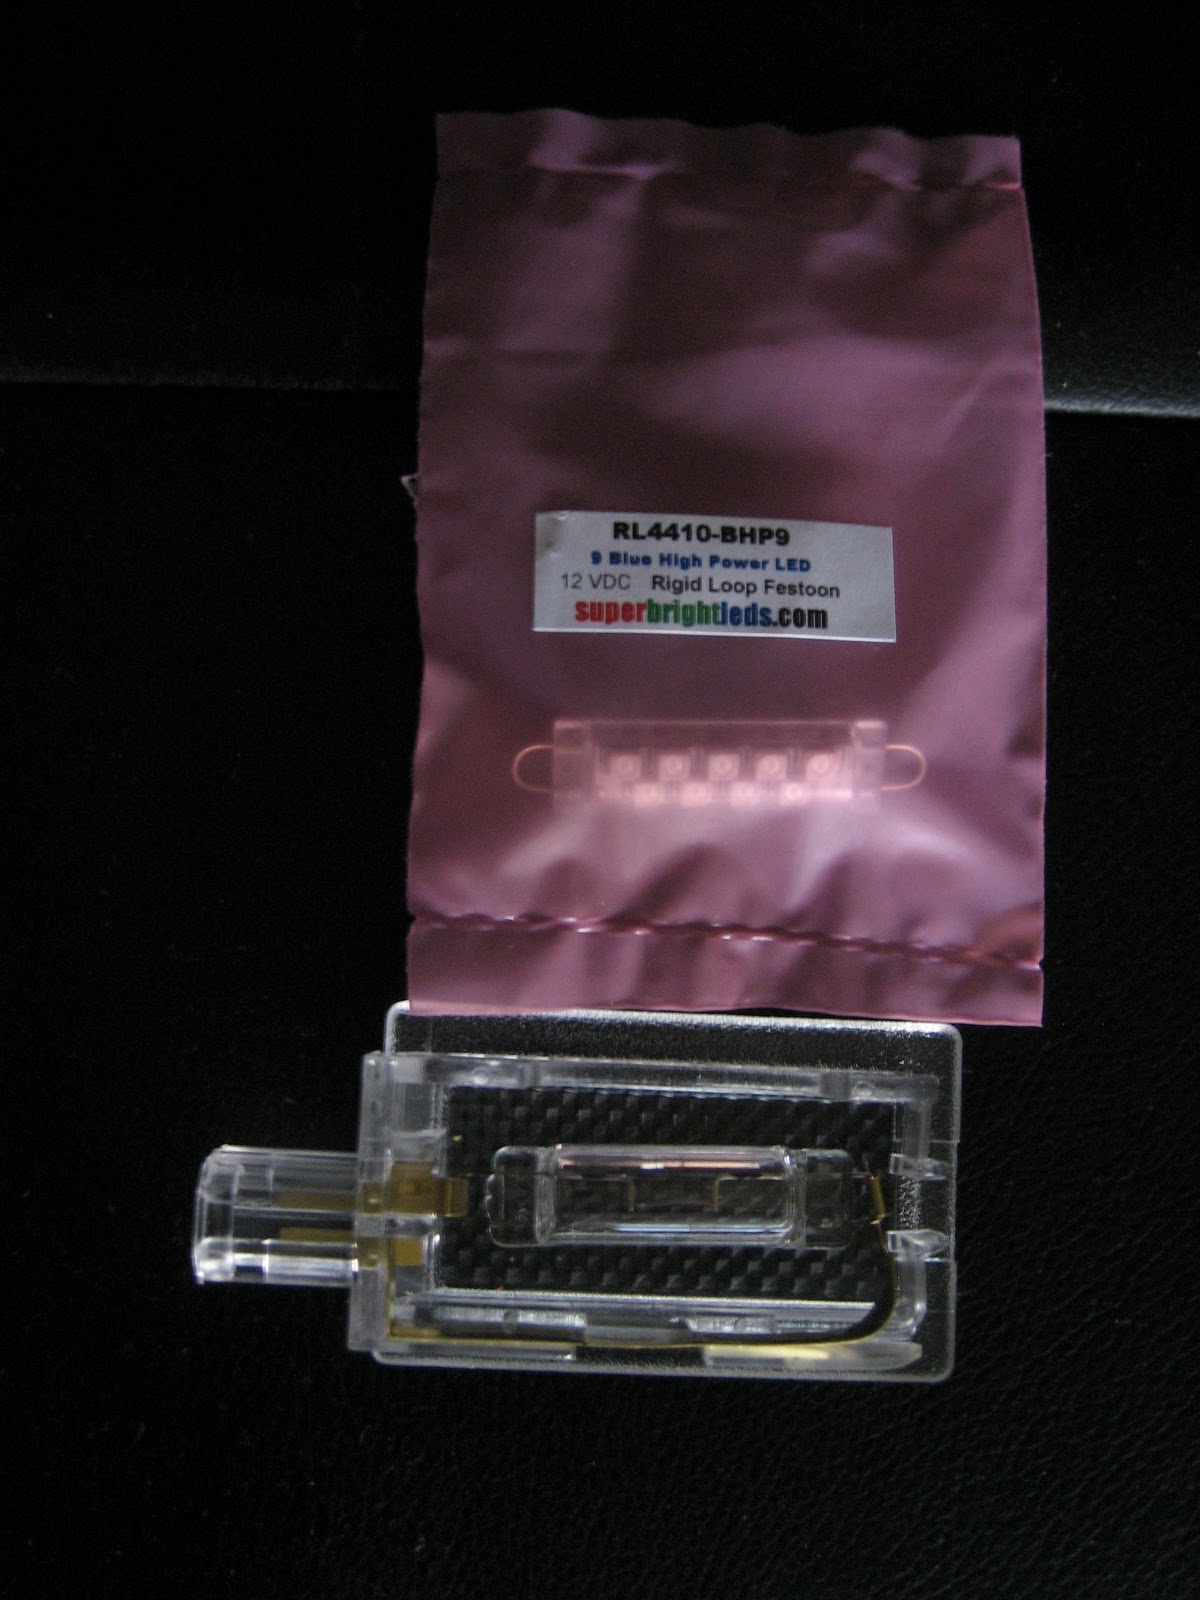
Please note the trunk bulb is a Rigid Loop…the small half-circles you see on the end. RL in the part number is the indicator with superbrightleds. Here is an idea of the size of the bulbs:
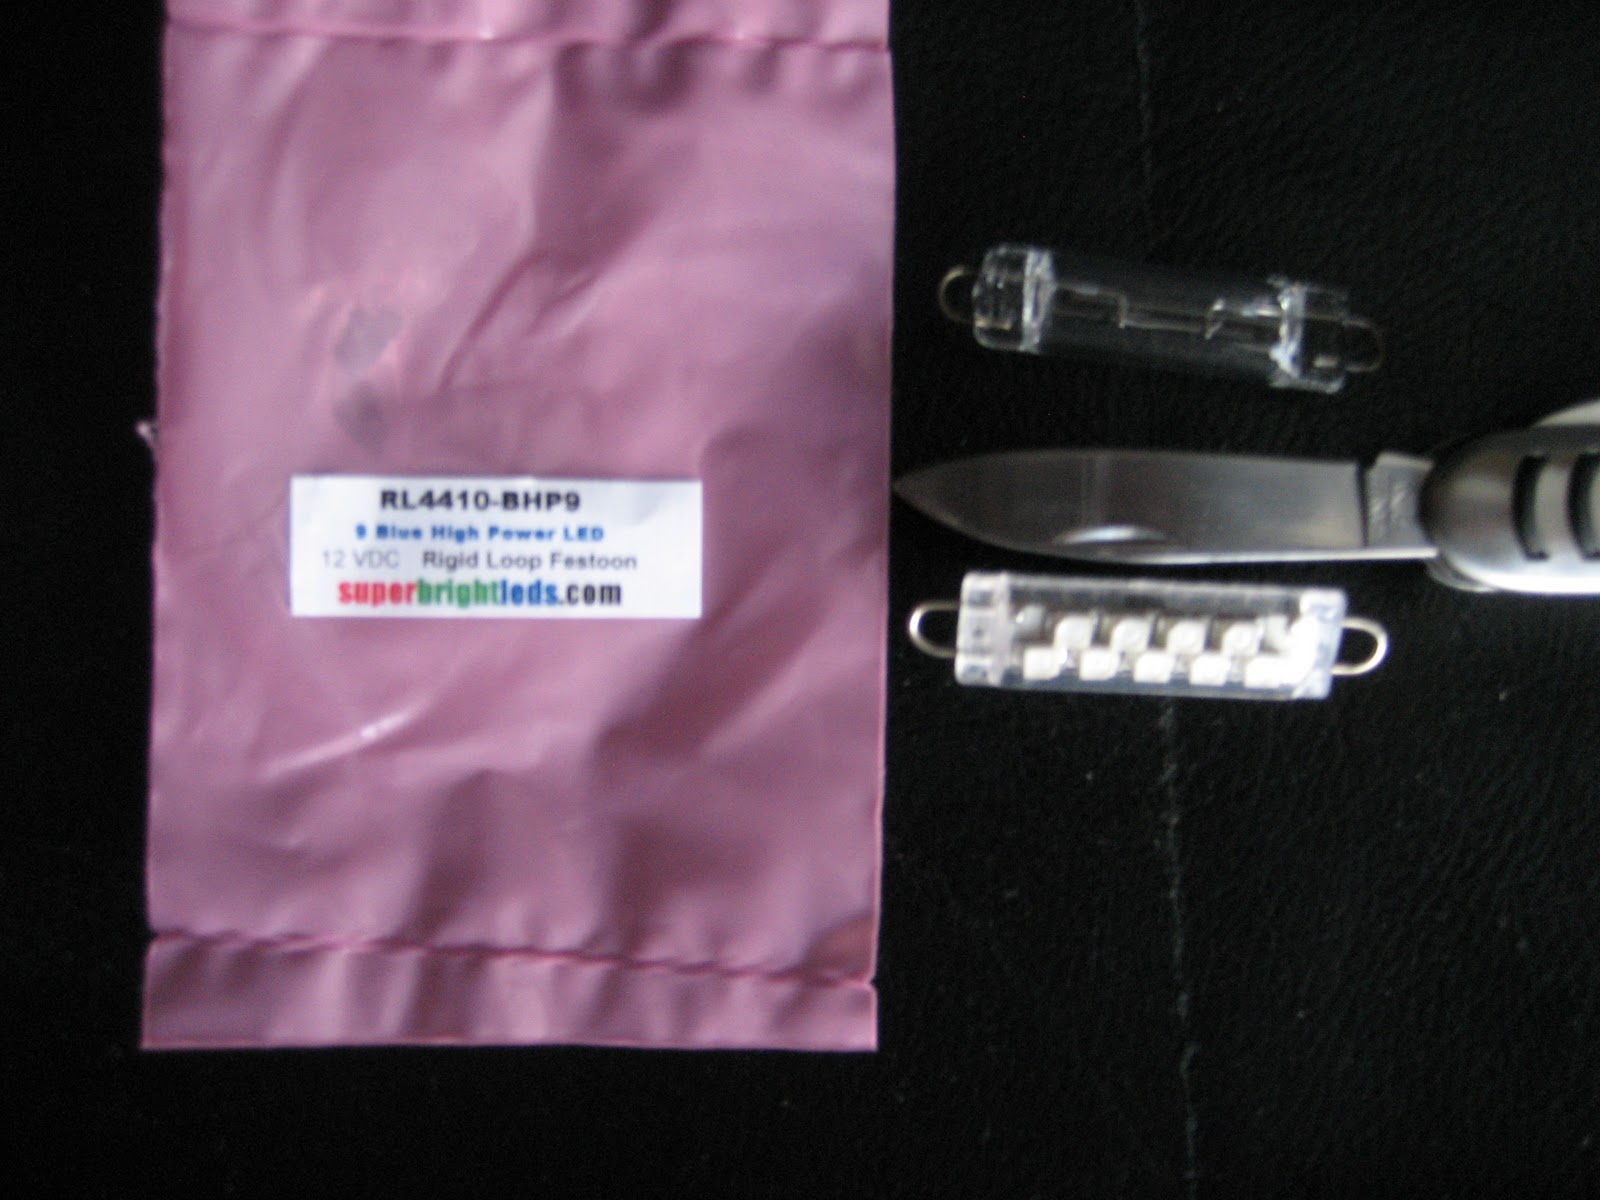
To replace Rigid Loop bulbs simply find the tang that bends back, usually farthest from the plug, and push in to remove the bulb. Installing your new bulb is just as easy, just push the tang in and position the rolled end over the loop:
Now reconnect the assembly to the plug and preview your work. If the lighting is dim, you probably don’t have the LED chips facing down thru the lens. Disconnect the plug and switch the bulb around…I didn’t mention it earlier because once you’ve made the mistake you won’t do it again!
Depending on your chip-count and color, your handiwork should yield something similar to this:
Now simply pop the housing back-in…it really is simple, just a press fit:
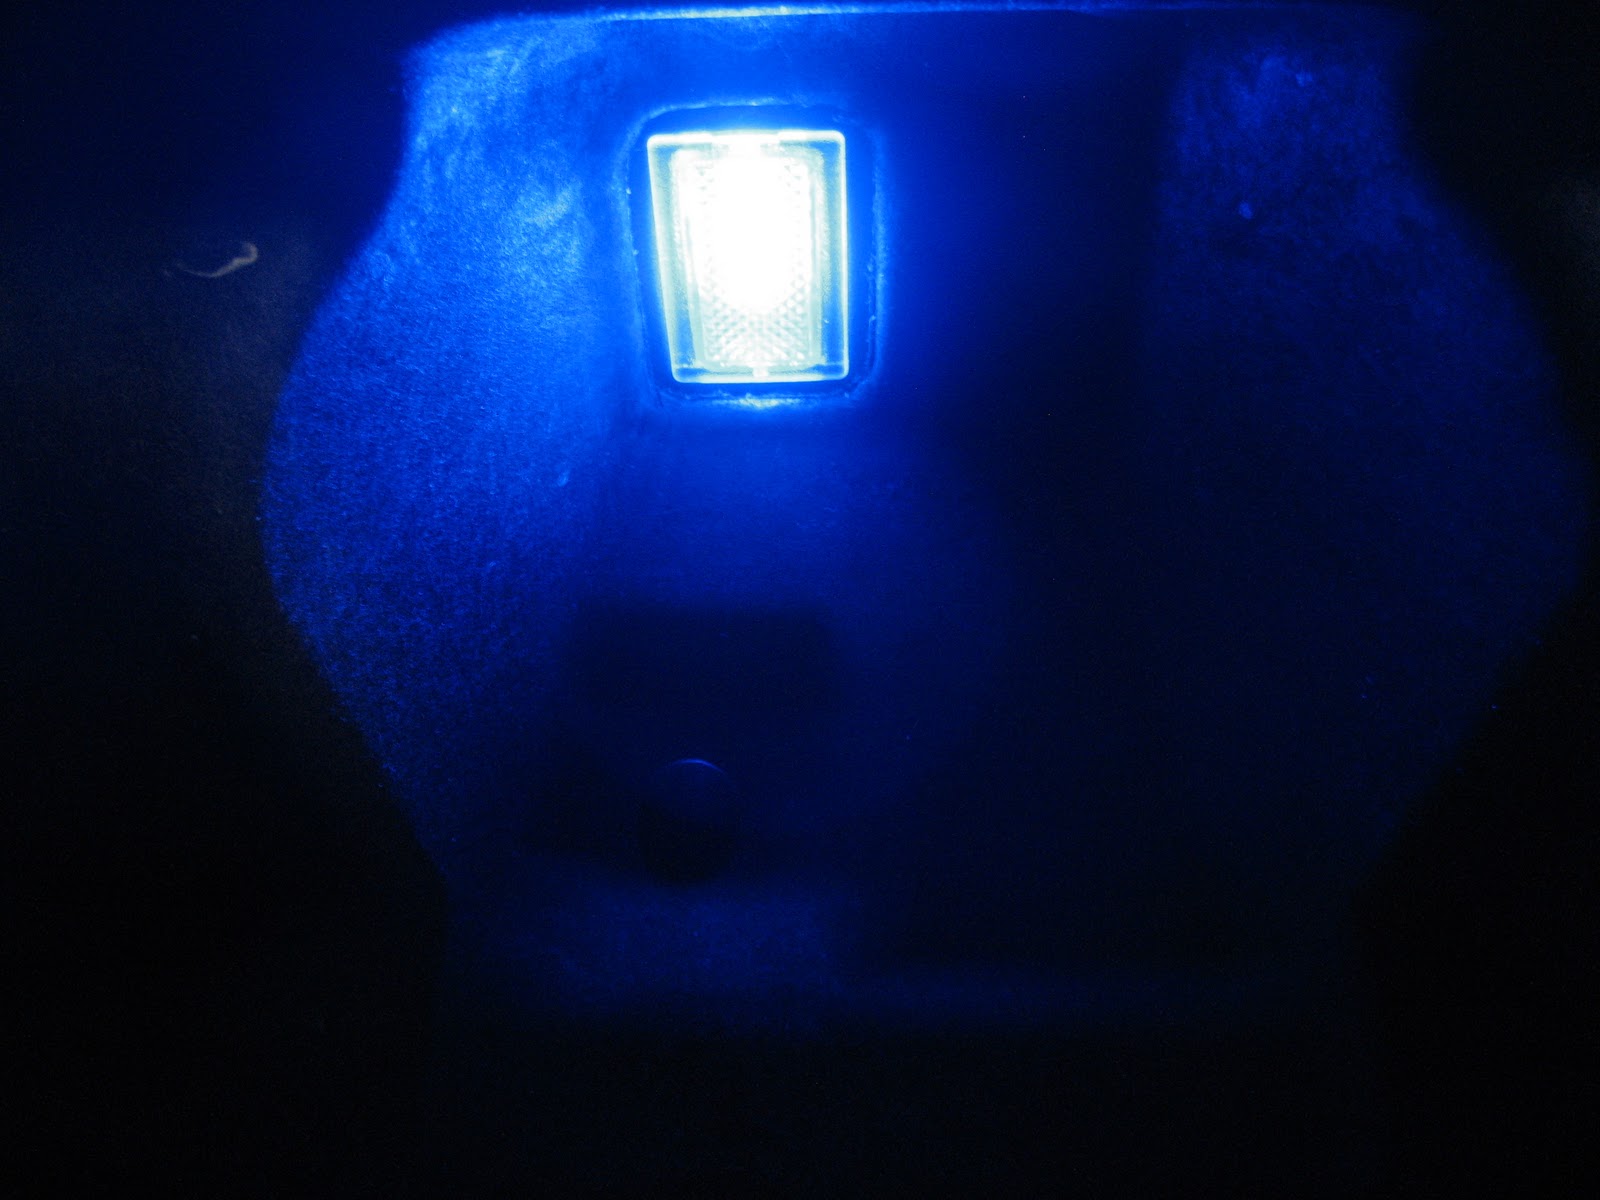
Now step-back and enjoy your custom lit trunk space:

Contrary to what folks say this LED lighting is not any more dim than the stock set-up…neither is ideal if you plan to read fine print, but for moving bags, or grabbing tools etc it will work fine and look good in the process!
I sourced mine from Superbrightleds.com for a very reasonable price, much lower than the sites most people see as vendors and just go with or follow the flock aimlessly into supporting…shop around and take care of yourself.
This mod can be done in about 5 minutes and won't cost you very much at all. LED bulbs run cool and last a long time. Anytime the trunk is up I always get comments on the lighting.
No comments:
Post a Comment